
Wall Putty Application Process: Step-by-Step Guide for Smooth & Durable Walls
Introduction
Wall finishing is a crucial stage in construction and painting. Proper surface preparation ensures smooth, durable, and professional wall finishes. Wall putty improves paint adhesion, reduces minor cracks, enhances wall strength, and increases paint life.
Improper application can lead to uneven wall finish, poor paint adhesion, surface cracks, paint peeling, reduced durability, and higher maintenance costs.
What is Wall Putty Application?
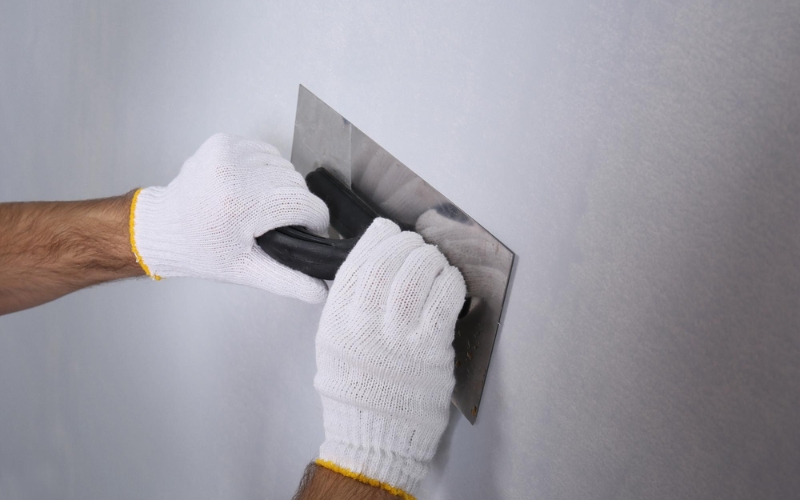
Wall putty application prepares walls before painting by filling minor cracks, dents, and pores to create a smooth paint-ready surface. It is applied after plastering and before primer or decorative paint.
Why is Proper Wall Putty Application Important?
- Smooth Wall Finish: Creates even surfaces suitable for premium paint finishes.
- Better Paint Adhesion: Improves bonding between paint and walls.
- Increased Paint Durability: Helps paint last longer.
- Reduced Paint Consumption: Smooth surfaces absorb less paint.
- Improved Wall Strength: Strengthens surfaces and reduces imperfections.
- Better Decorative Appearance: Enhances final paint finish.
Types of Wall Putty Used for Application
- White Cement-Based Putty: Used for interior and exterior walls; strong adhesion, moisture resistance, long-lasting durability, smooth finish.
- Acrylic Wall Putty: Preferred for interior walls; easy application, fine smooth finish, quick drying.
Tools Required for Wall Putty Application
- Putty blade
- Steel trowel
- Sandpaper
- Mixing bucket
- Water
- Sponge
- Protective gloves
- Surface scraper
Step-by-Step Wall Putty Application Process
Step 1: Surface Preparation
- Clean the wall surface: Remove dust, loose particles, oil, grease, old paint, dirt, and debris.
- Repair major cracks: Deep cracks, holes, and damaged plaster areas.
Step 2: Wet the Surface Slightly
Lightly dampen the wall to improve putty adhesion and reduce rapid water absorption. Avoid overly wet walls.
Step 3: Prepare the Wall Putty Mixture
- Mix putty powder with clean water gradually to avoid lumps.
- Create smooth paste consistency without excessive water.
Step 4: Apply the First Coat
- Use putty blade or steel trowel for thin, even layers.
- Cover minor cracks, surface pores, and uneven plaster areas.
Step 5: Allow Proper Drying Time
Drying depends on weather, surface absorption, and layer thickness. Proper drying prevents cracks and improves bonding.
Step 6: Apply the Second Coat
Second coat improves smoothness, levels the surface, and enhances decorative finish quality.
Step 7: Sanding & Surface Finishing
- Sand wall surface using fine sandpaper to remove unevenness and create paint-ready surfaces.
- Clean dust before primer application.
Step 8: Primer Application
Apply primer to improve paint adhesion, durability, and create a uniform paint finish.
Common Mistakes to Avoid During Wall Putty Application
- Applying putty on wet walls
- Using excess water
- Applying thick layers
- Skipping surface cleaning
- Inadequate drying time
- Using low-quality putty
Tips for Better Wall Putty Application
- Use quality wall putty
- Apply thin, uniform coats
- Maintain proper drying time
- Use skilled applicators
- Sand properly for smooth paint-ready walls
Wall Putty Application for Interior vs Exterior Walls
| Feature | Interior Walls | Exterior Walls |
|---|---|---|
| Moisture Exposure | Moderate | High |
| Durability Requirement | Standard | Higher |
| Putty Type | Acrylic/Cement | White Cement-Based |
| Weather Resistance | Moderate | Important |
Benefits of Proper Wall Putty Application
- Smooth decorative finish
- Better paint adhesion
- Increased paint life
- Reduced maintenance
- Crack resistance
- Improved wall durability
- Enhanced building appearance
Why Quality Wall Putty Matters
- Better spreadability
- Strong adhesion
- Smooth finish quality
- Long-lasting durability
- Moisture resistance
- Better paint support
Conclusion
Following the correct wall putty application process ensures smooth, durable, and professional-quality finishes. Proper surface preparation, quality materials, and even application improve paint adhesion, decorative appearance, and long-term wall durability.